Access to Business Manager
Create Business Manager
-
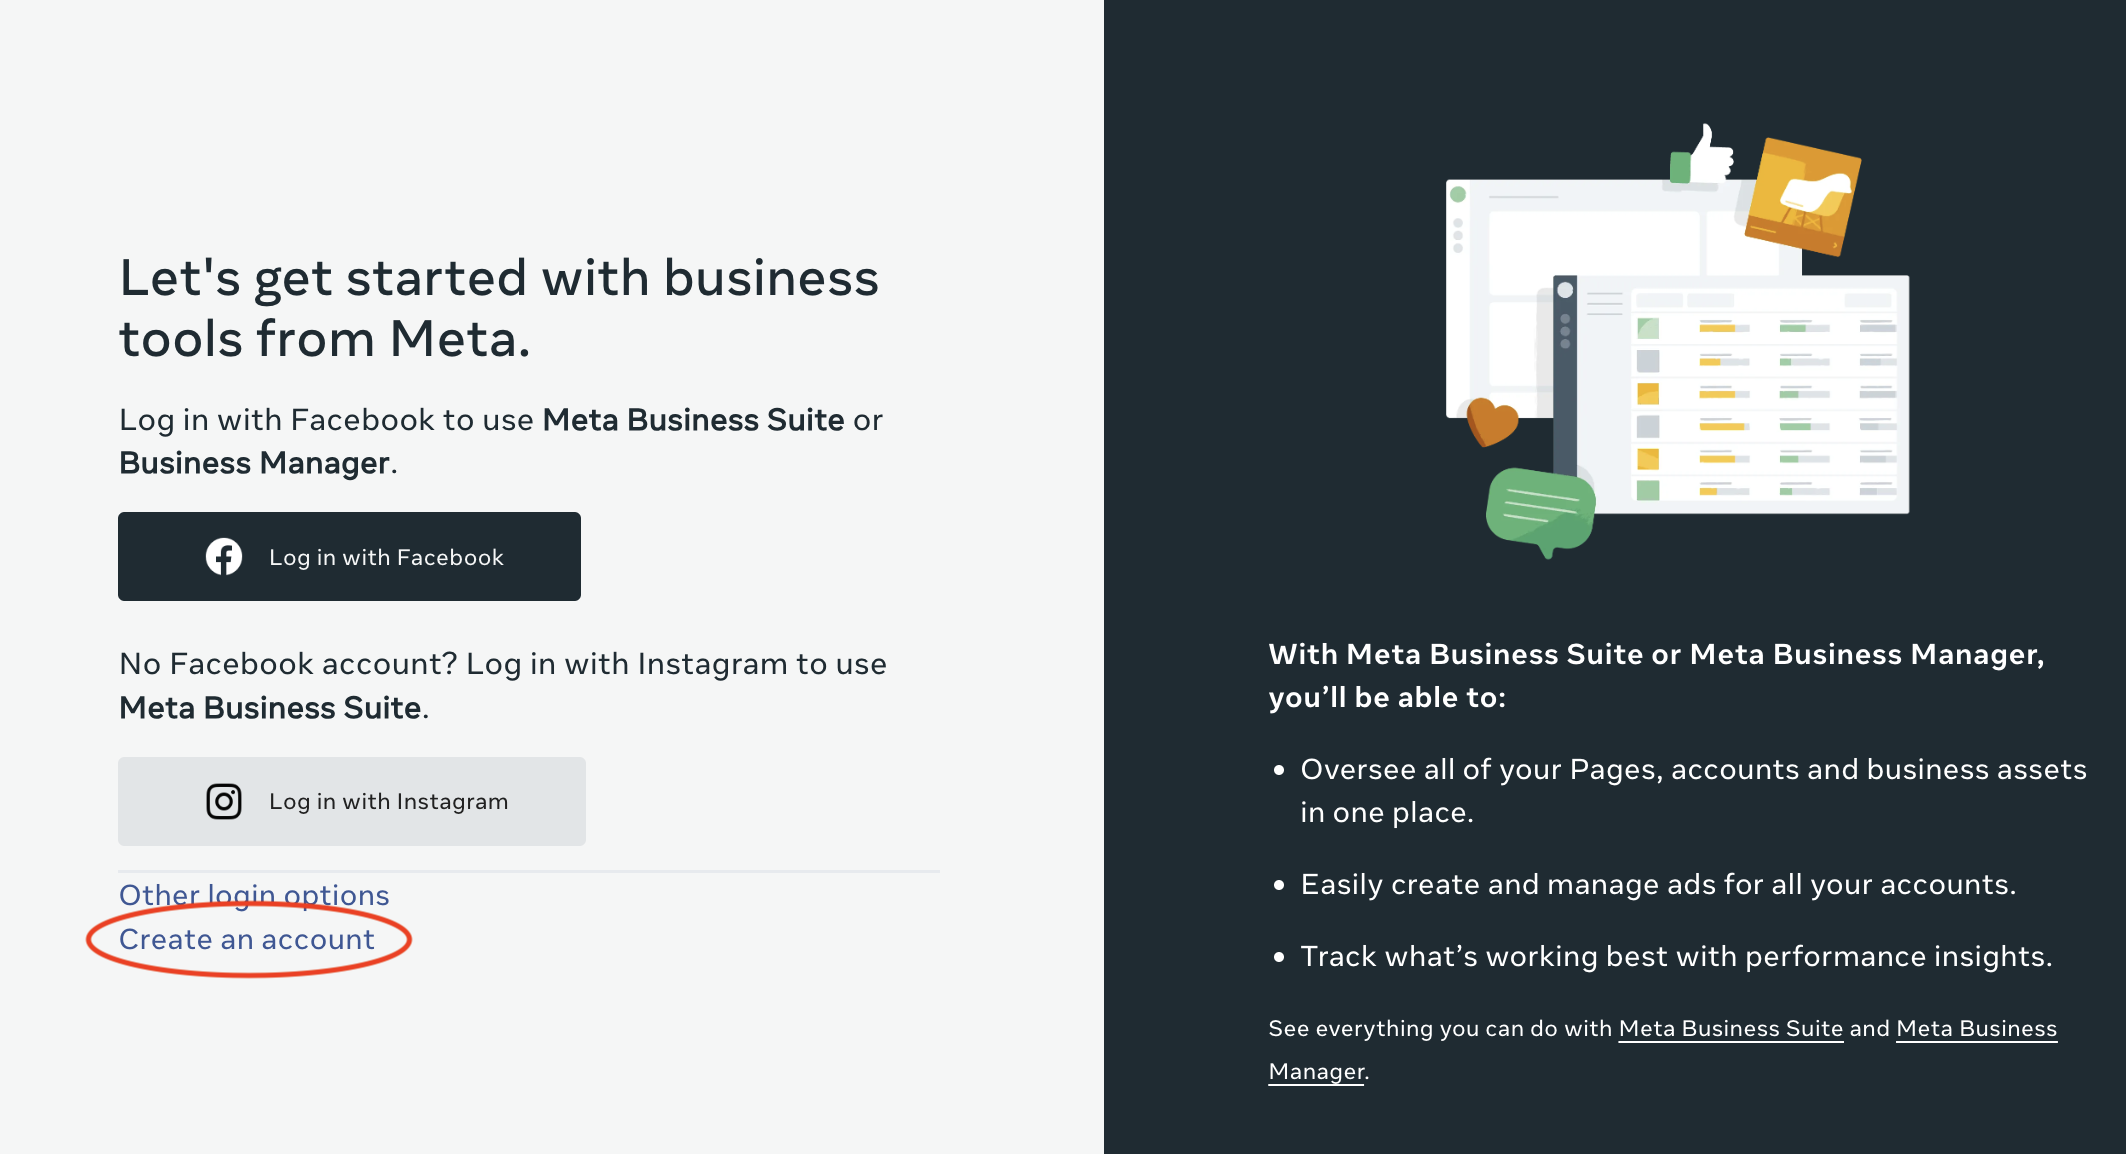
Go to business.facebook.com and click on Create an Account.

-
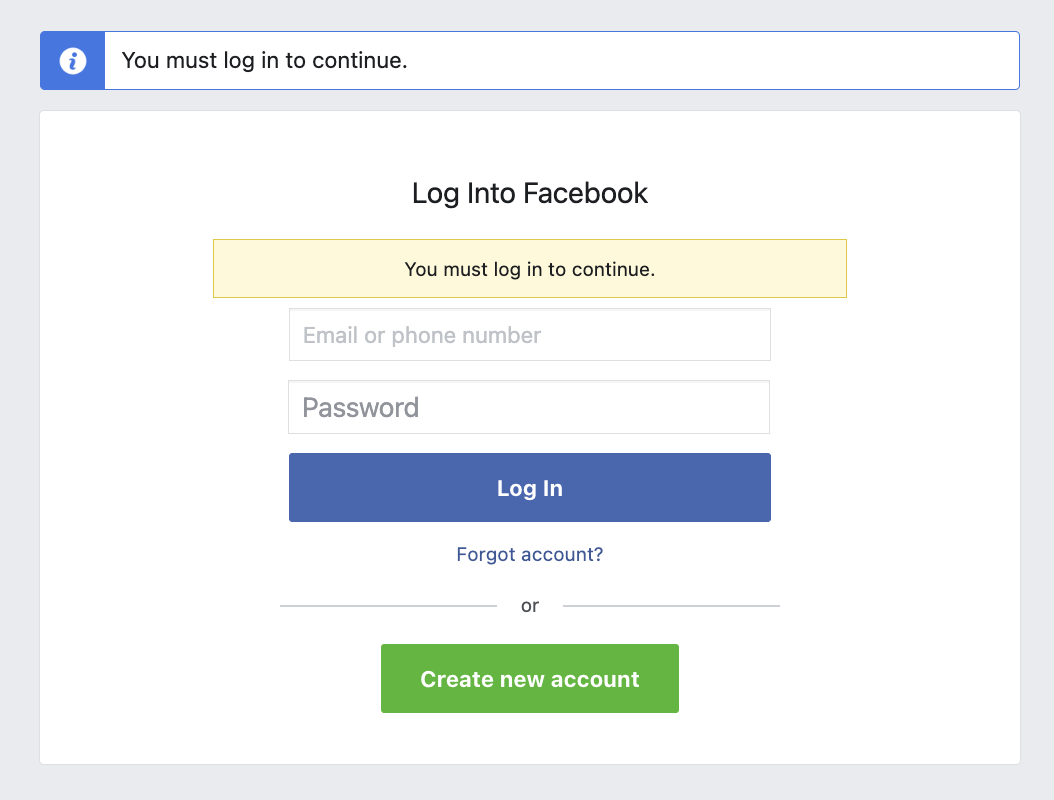
Log in to Facebook or register a new account.

-
Fill in your company name and other information about you and your business.

- Start the setup guide.

Business Manager settings
Log in to your BM at business.facebook.com. If you see Meta Business Suite instead of Business Manager, click Help in the bottom left and then Go to Business Manager.

-
Go to Business Settings. Add your Ad account, Facebook page and other items such as Meta pixel, product catalogs, Instagram profile to the newly created BM. If you have not created these items yet, please create them first.

To add an existing ad account, you will need its unique ID, which can be found in the ad account settings. To add an existing business page, simply enter its name in the search box or enter its URL.
- In the Business Info section, fill in additional information about your company (company name, address, website…).
- Click through Billing & Payments. Enter your payment method and billing information here.

Share Accesses
Log in to your BM at business.facebook.com. If you see Meta Business Suite instead of Business Manager, click Help in the bottom left and then Go to Business Manager.
-
Expand the menu at the top left, select Business Settings (at the top of the menu) and then Users.

-
Select the Partners section and click Add next to “Partner to share assets with”.

-
Enter our BM ID 375255322646087 and confirm with the Next button.

-
We will need access to the following items:
company page (Facebook),
advertising account,
catalog,
pixel / event set,
IG company profile.
Select Full Control for each item. This is the most efficient way we can set up everything we need and avoid any issues due to restricted rights. Then click the Save Changes button.

- Click Save Changes to send us an invitation to engage with your business on Facebook.


